Flashing LSI 9211-8i Firmware

I built a home ESXi lab, which I will be documenting a bit more later. Before I do though I wanted to document some of what I've learned about RAID before I forget it.
Edit: This started out as more than just flashing firmware, but it got pretty long, so this will be part one of a number of articles.
If you're reading this, I've only been playing with this equipment for about a day and a half. I'm no expert and might get terms and other details wrong. As always, I hope this helps someone in a similar situation, but if you're reading this while standing in front of your production KVM, you might want to take a step back.
My setup (the basics)
- Shuttle XPC Cube SZ270R8 with the latest BIOS (111, 2018/07/20) as of this writing.
- LSI 9211-8i with P20 firmware (20.00.07.00), IR mode currently
- 3x Western Digital 2TB Enterprise drives (WD2000FYYZ)
- ESXi 6.7 (20190104001-standard / Build 11675023)
Important Notes
- ESXi does not work with software RAID. Turns out RAID built into motherboards does not count as hardware RAID though. See, I'm learning already. While you do adjust the RAID settings in BIOS, Intel Rapid Storage Technology (RST) relies on OS drivers. It's not the same as having a dedicated (and VMware supported) card.
- Access to the LSI 9211's BIOS is not possible (to the best of my knowledge) in UEFI mode. So to access anything in the BIOS, you have to put your system in legacy mode, wait for the MPT2BIOS prompt and the CTRL+C prompt.
- Flashing the LSI 9211 was unreliable in legacy mode for me though, so set your system to UEFI for this.
Flashing Firmware to the LSI 9211-8i
This one caused some issues for me. There's a few different guides out there that seem to differ in subtle ways (references at the bottom). Unfortunately, this seems to be motherboard/system dependent, so this won't be a universal guide. It seems to mostly depend on if you try this in legacy BIOS or UEFI. Legacy wouldn't work for me though, so ere's what did.
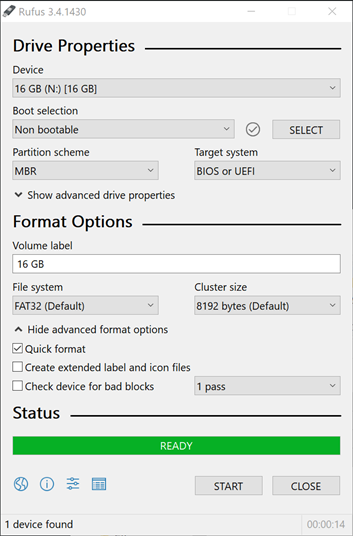
Create a Rufus USB with the properties below.
Next, find the latest BIOS for your Shuttle. It doesn't appear that the Shuttle has a built in EFI shell, and we need one. In my case, they can be found here. Unzipping this will give you a startup.nsh and three folders. We don't need shell (where the new motherboard BIOS is) or DOS though. So copy the efi folder and startup.nsh over to your USB drive.
Next we need the latest 9211 firmware and sas2flash.efi. Copy the firmware you want (IR, e.g. 2118ir.bin or IT) from the Firmware folder and the mptsas2.rom file from the sasbios_rel folder in the first download to the root of the USB. Copy the sas2flash.efi file from the sas2flash_efi_ebc_rel folder to the root of the USB drive as well. You should now have a directory structure that looks like this:
02c10ac2b64c903d60deaed87a5df954df6eb926c5532d81dc4de70471ff8914  ./2118ir.bin
9c35132531e515b3aa066ba2940f4c11bc953eb16eba61d7a34620eb290d1cd2  ./2118it.bin
e7906f07268d0e7acd081d1e0cfbb72916c7033aca4d7d2c7dc4b93fff2fb0d2  ./efi/boot/bootia32.efi
fbe2e553db7ccc1ce06569792bf55ba5aad5efb9a46f228779753a2a66e259e1  ./efi/boot/bootx64.efi
aa13552b80f6d5868c675b05968e77d8f0cd22f54ae71444ca5ee08384c9f3a5  ./efi/boot/Shell.efi
b46cc0e49aaf2b14b1636dd25b8b3483d4823b46093b17fae2cc722a2fb2146c  ./efi/boot/Shellx64.efi
745ea38fcabd8f233dd2233756501cae5e662845cfd352c3b52baf7aad0672df  ./mptsas2.rom
b49c96aad59bb9d126d06ce65ea38996644aae7965ef744aa7bb89a9b4dce7a1  ./sas2flash.efi
9932f30d4348c09004e7ac8d371d7a94987c39b8b03ace7a8223a936b5f1b780  ./startup.nsh
I included SHA256Sum's in the output in the event these files disappear and someone has to hunt them down.
Boot in UEFI mode
Basically, just like you're doing a BIOS Upgrade in UEFI. You will likely get an error that a /shell/ file is missing (I forget which one), ignore this. You should be presented with the EFI fs0:/> prompt though. Abbreviated steps are below:
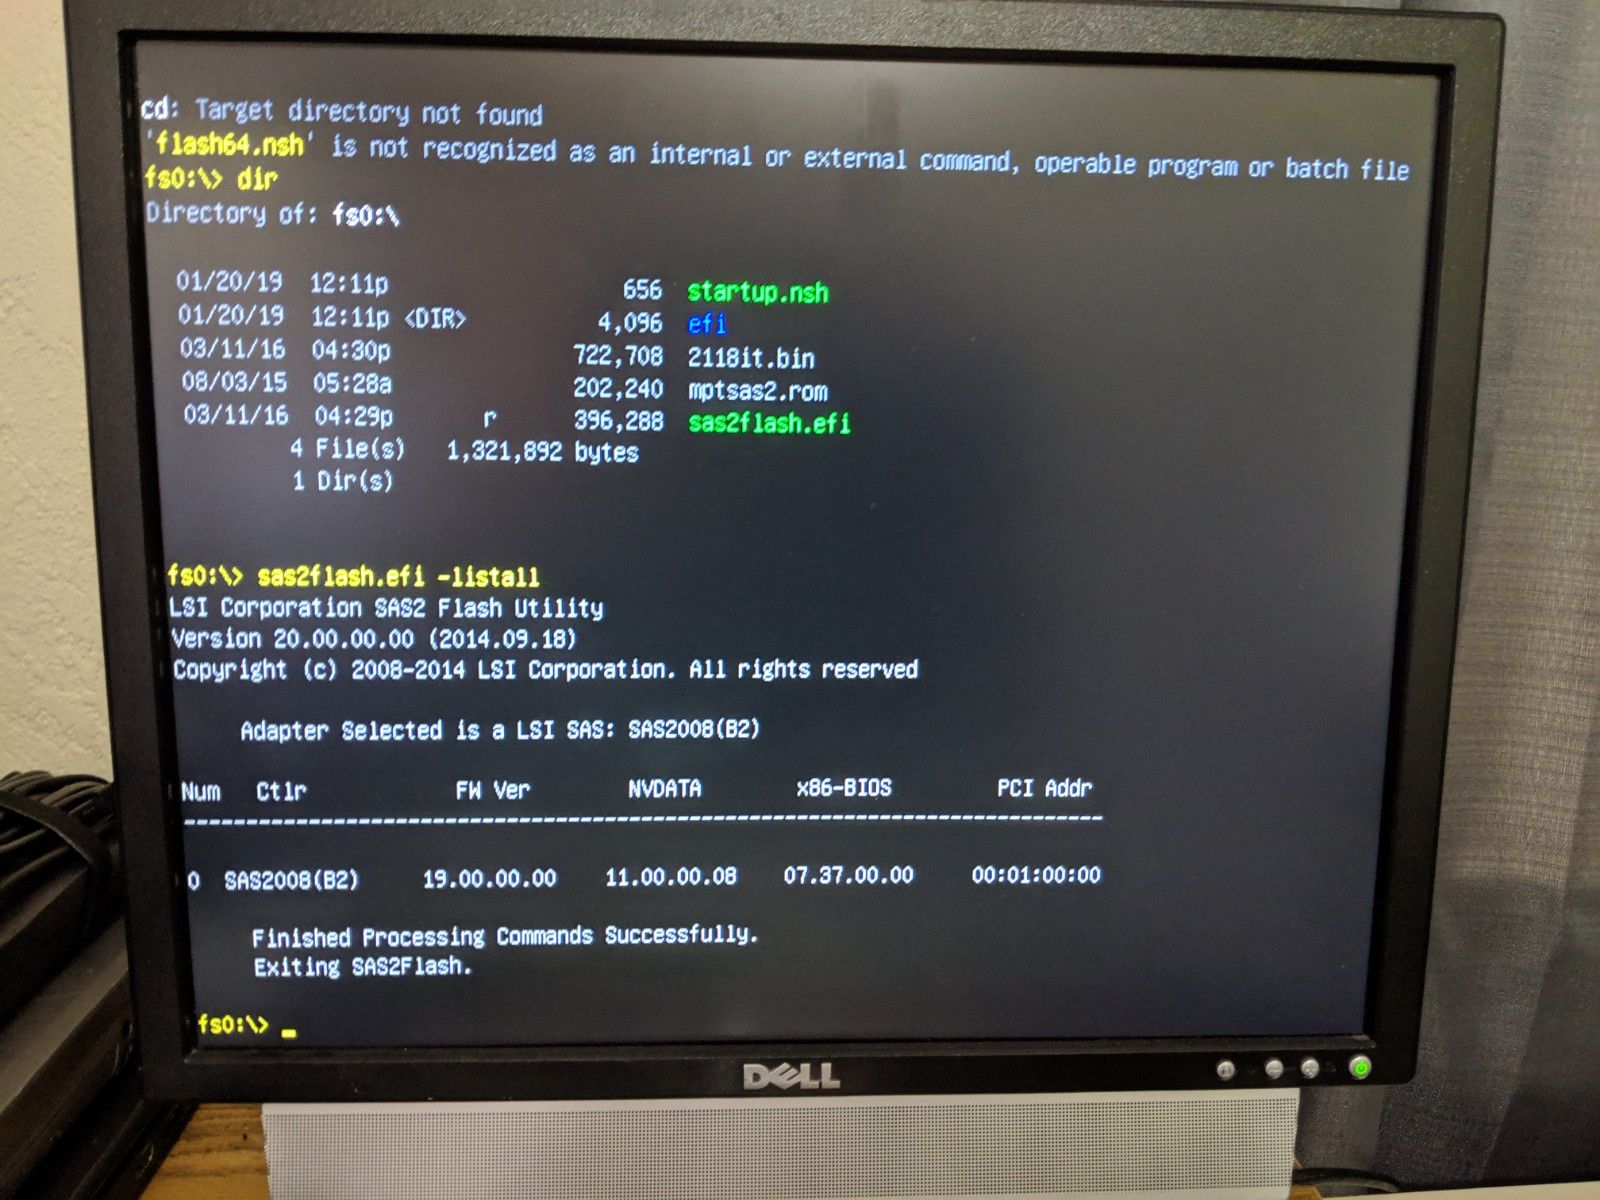
fs0:/> sas2flash.efi -listall
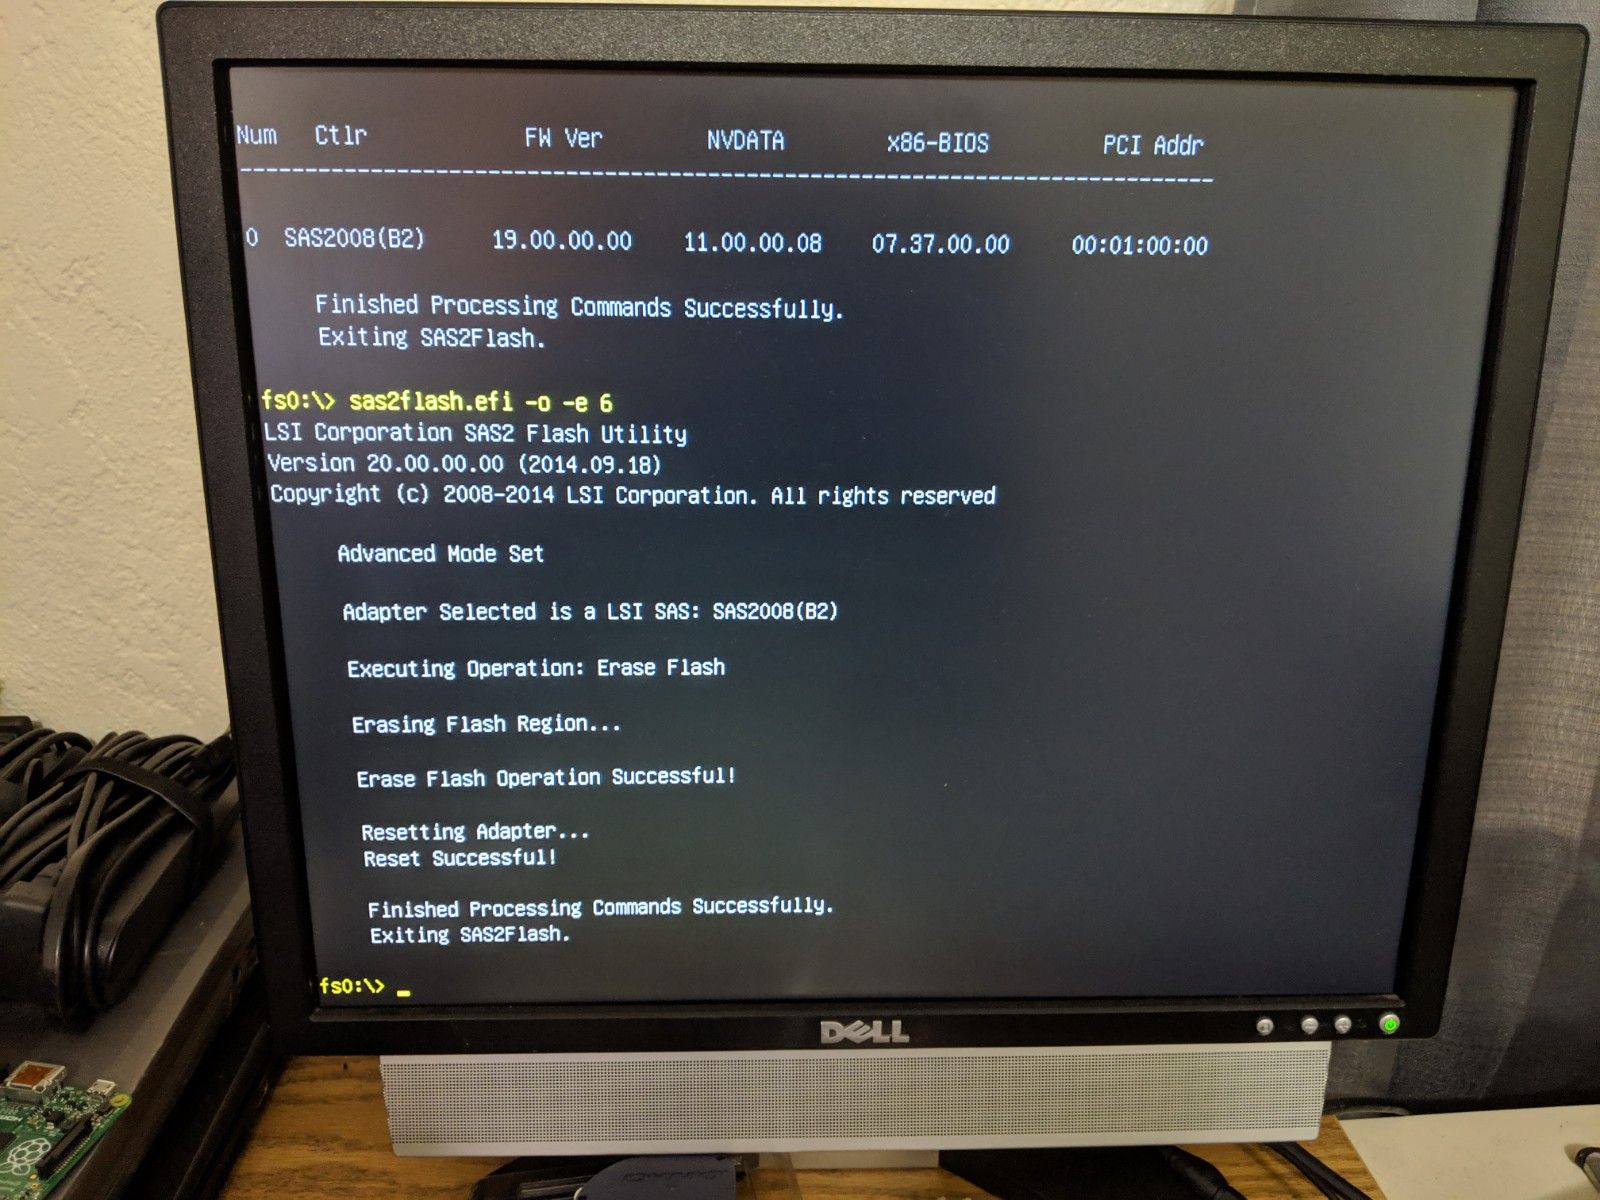
fs0:/> sas2flash.efi -o -e 6
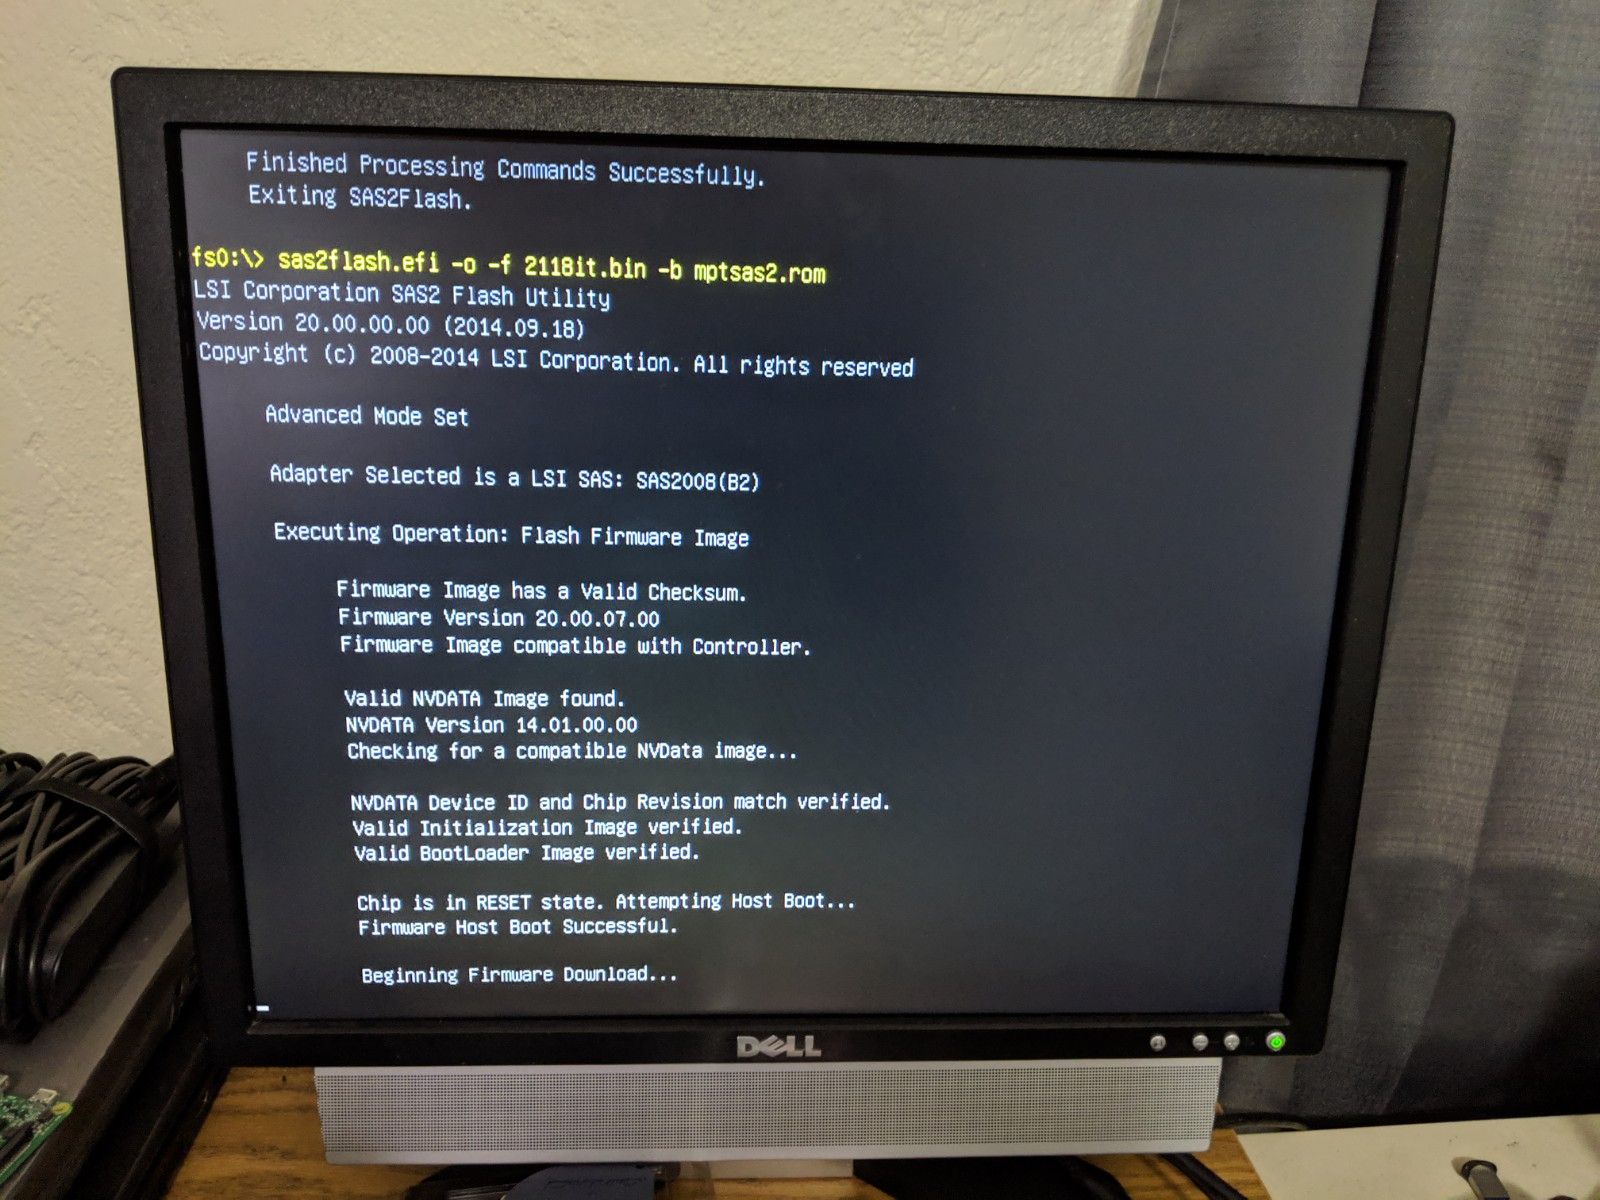
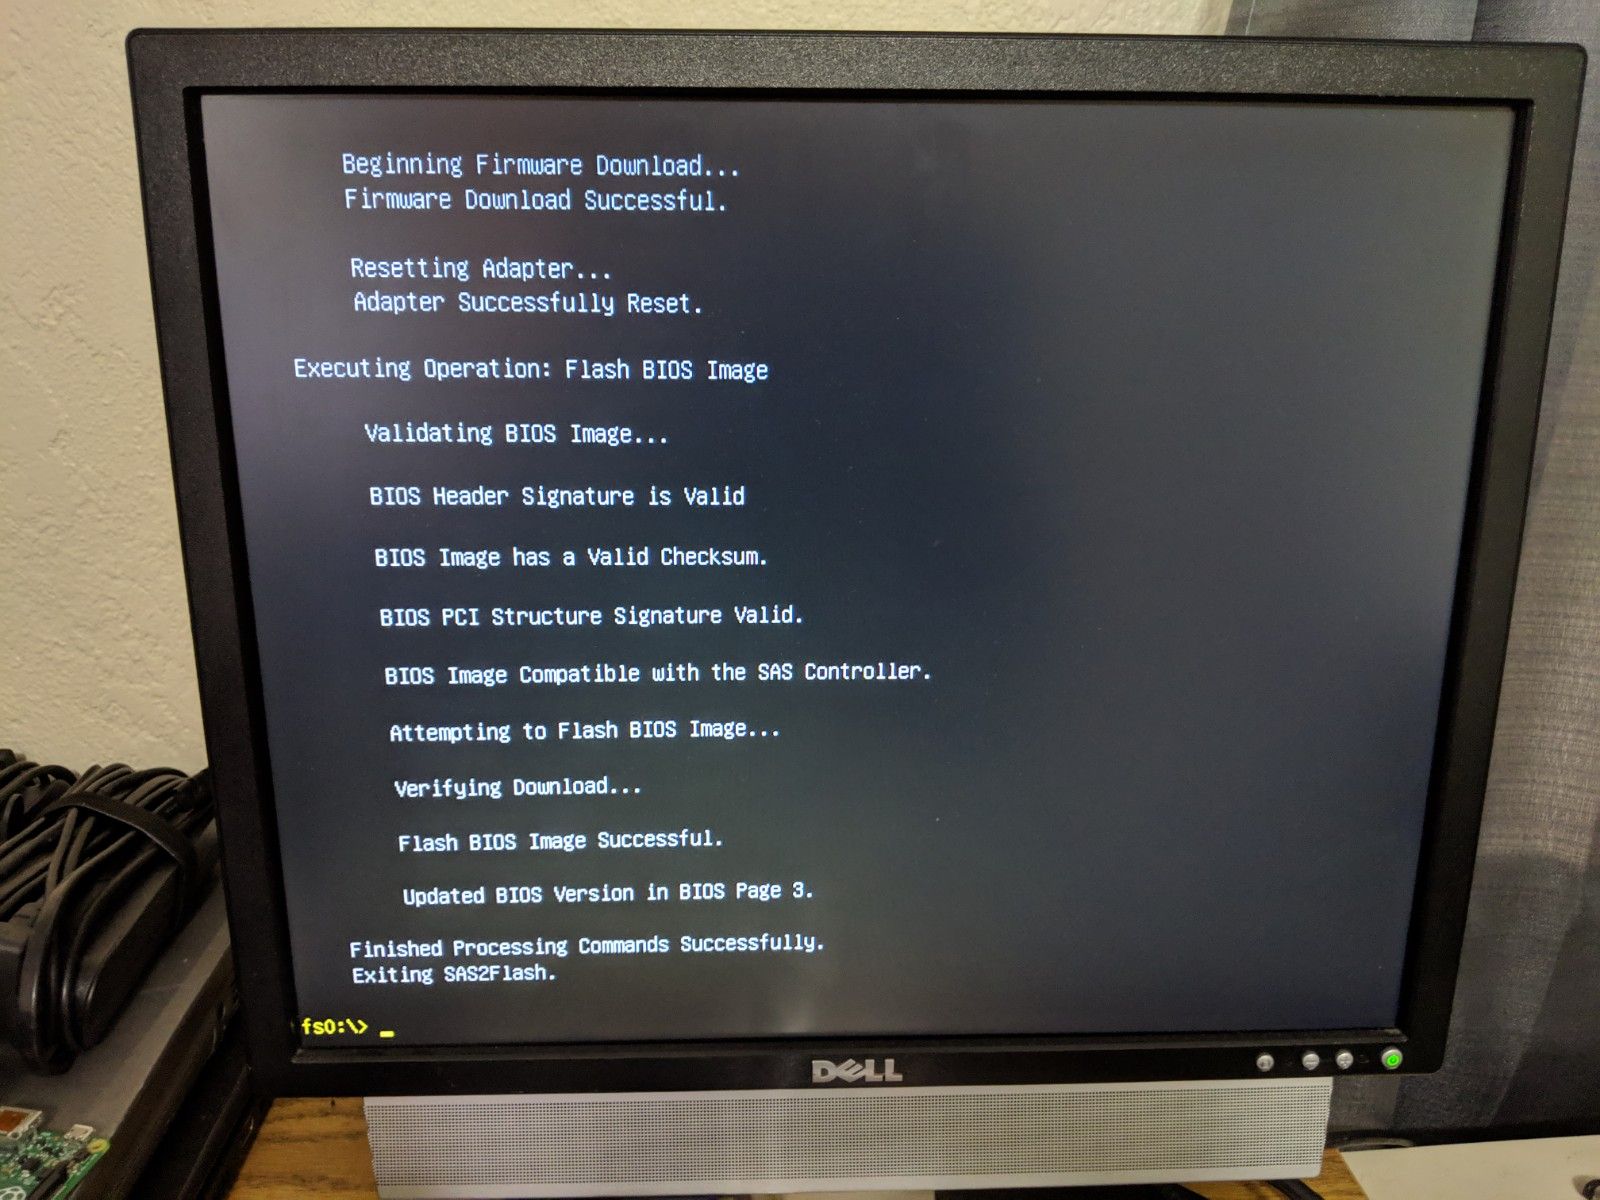
fs0:/> sas2flash.efi -o -f 2118ir.bin -b mptsas2.rom
# Or, if you're going to it: sas2flash.efi -o -f 2118it.bin -b mptsas2.rom
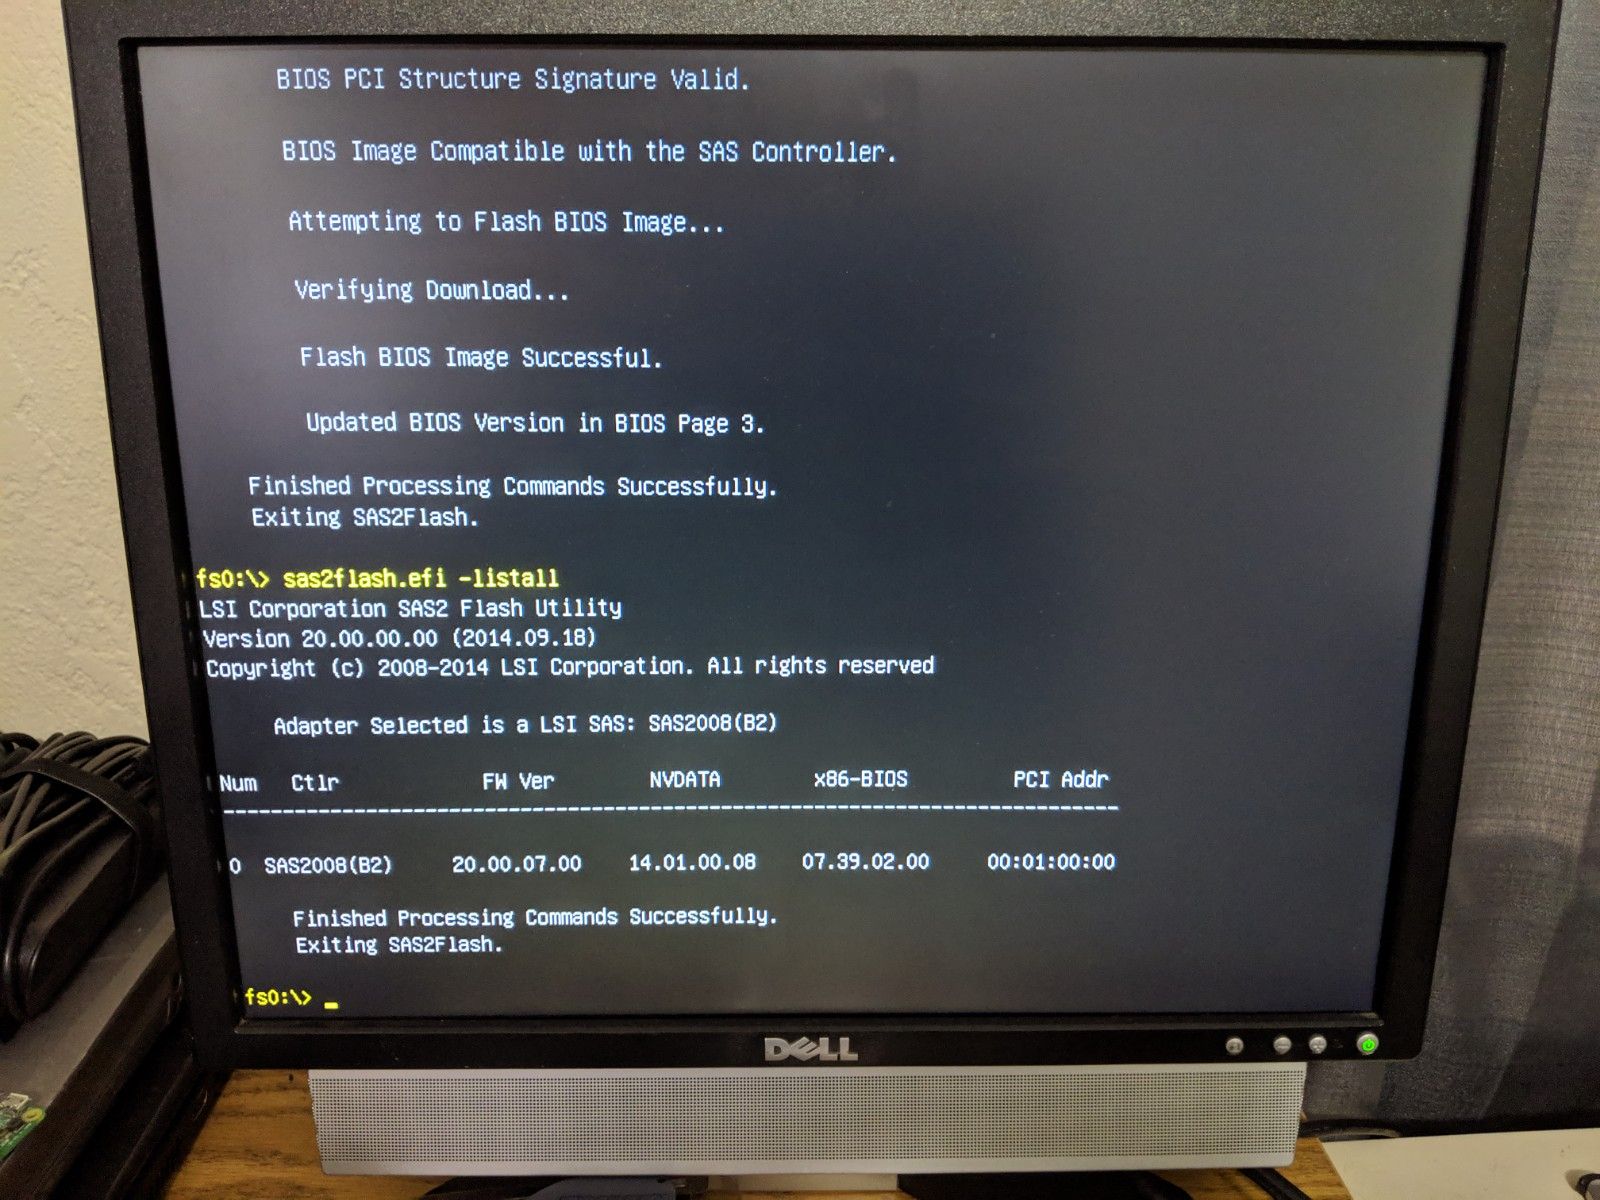
fs0:/> sas2flash.efi -listall
the -listall command should, of course, list your current card and firmware. Then we erase the flash memory. Rumor has it if you shut down or reboot at this point, your card is bricked, so... don't. Then we give it the new firmware and bios. Then we check it again and we should see the card with our new firmware.
Some other resources:
- LSI SAS 9211-8i PCI Express to 6Gb/s Serial Attached SCSI (SAS) Host Bus Adapter User Guide
- Use of the onboard BIOS of the 9211-4i and 9211-8i
- https://linustechtips.com/main/topic/104425-flashing-an-lsi-9211-8i-raid-card-to-it-mode-for-zfssoftware-raid-tutorial/
- https://digitalcardboard.com/blog/2014/07/09/flashing-it-firmware-to-the-lsi-sas-9211-8i-hba-2014-efi-recipe/
- http://brycv.com/blog/2012/flashing-it-firmware-to-lsi-sas9211-8i/
- https://nguvu.org/freenas/Convert-LSI-HBA-card-to-IT-mode/